10 simple steps on how to wire a wall switch to a light
Every home with a lighting system requires electric wall switches that function properly. For some reason, you may want to replace the faulty old switch with a new one.
In this article we will take you through the steps on how to wire a wall switch to a light securely and safely.
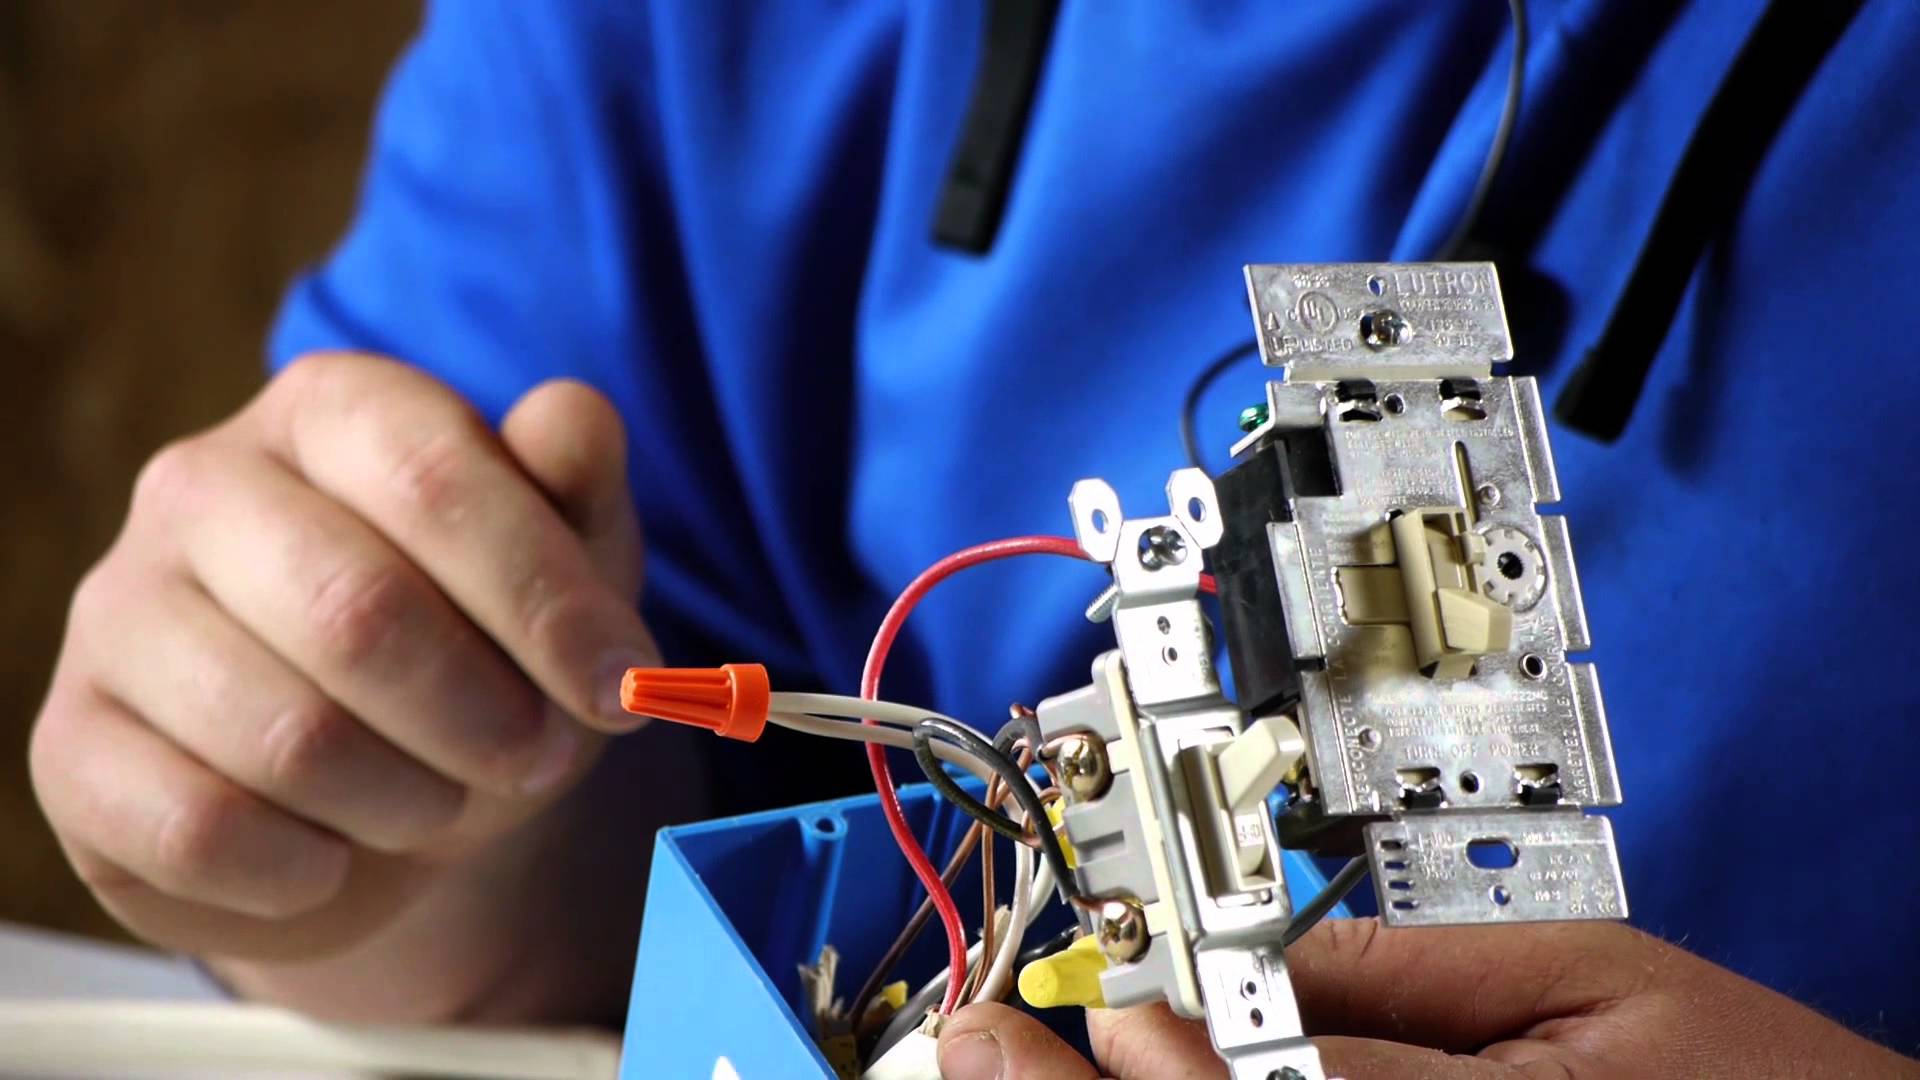
For the task at hand, you’ll need the following tools to help you on how to wire a wall switch to a light
- A screwdriver
- A tester
- Blade clip
- Single-pole wall switch

Step 1
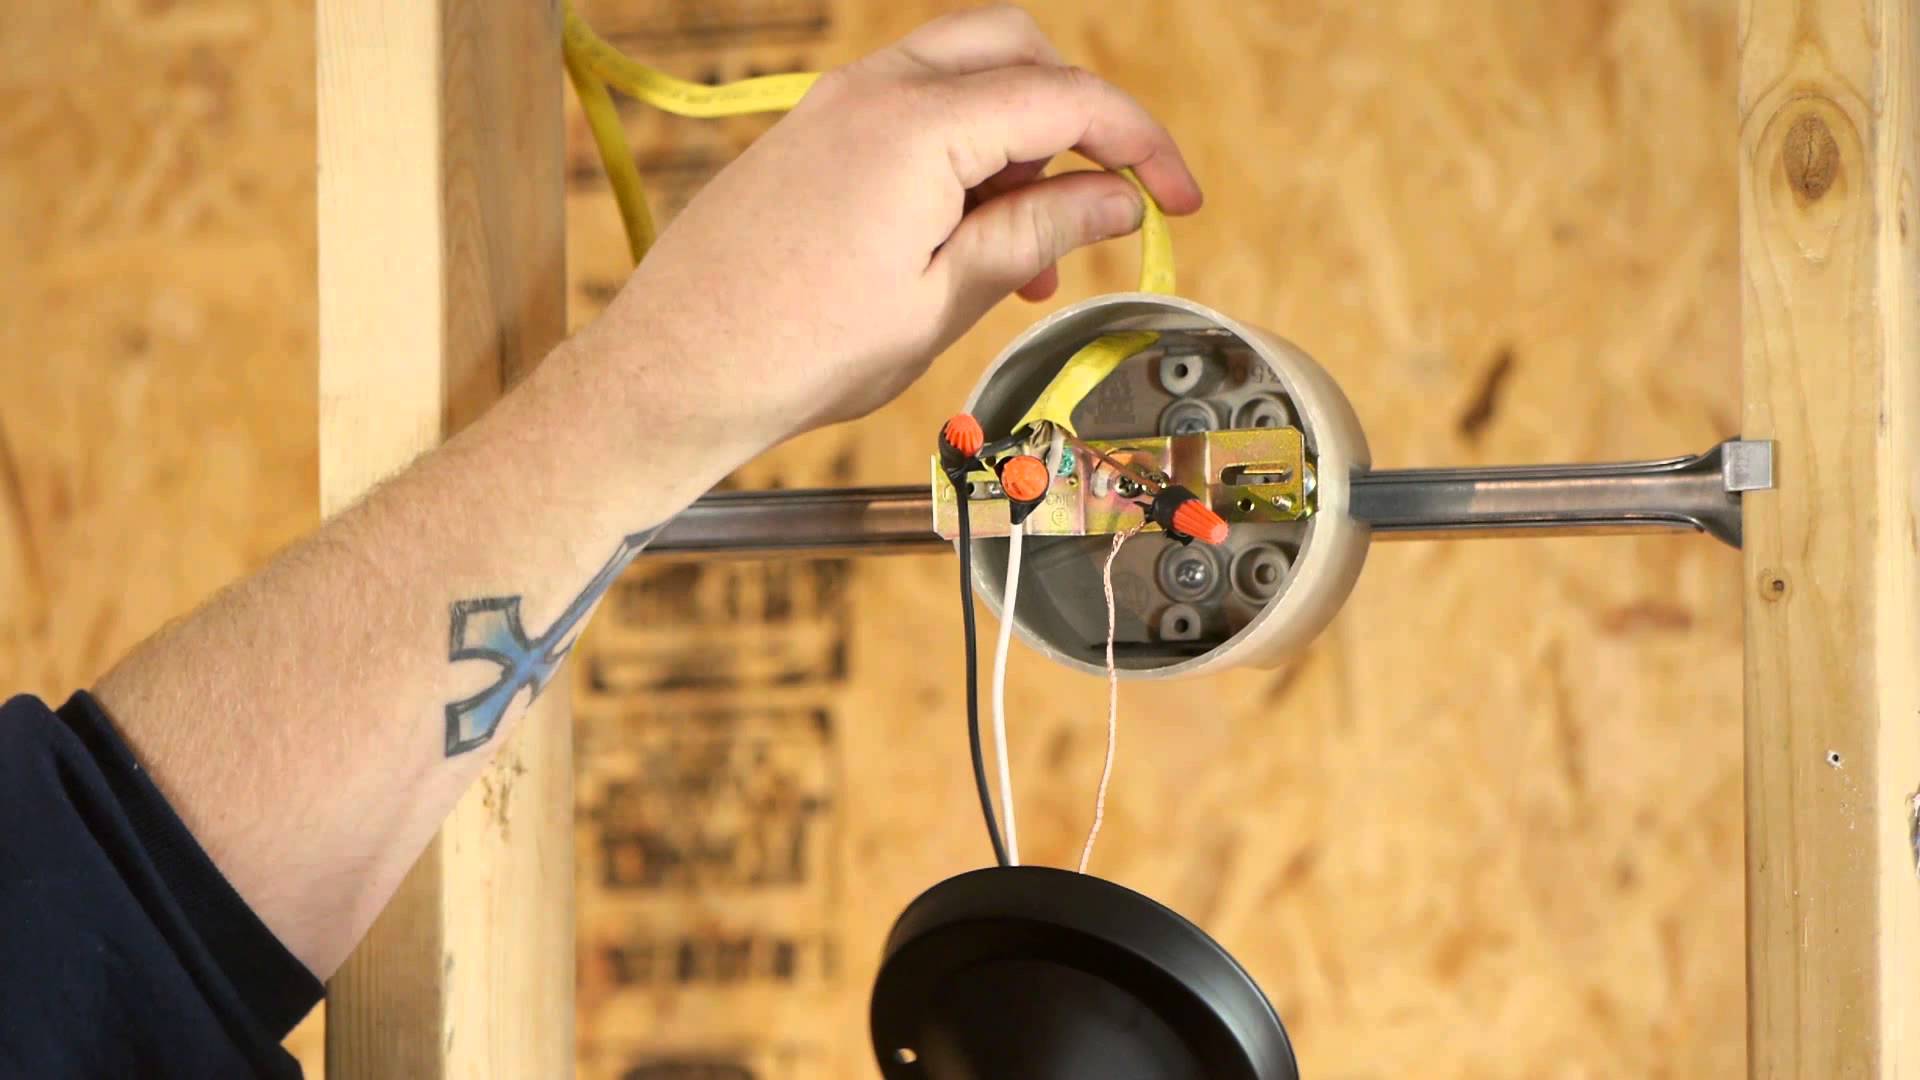
Locate your circuit breaker box and turn it off. It is advisable to turn off electricity on the Mains if you are not able to locate the circuit breaker specific to the switch to be wired.
Step2
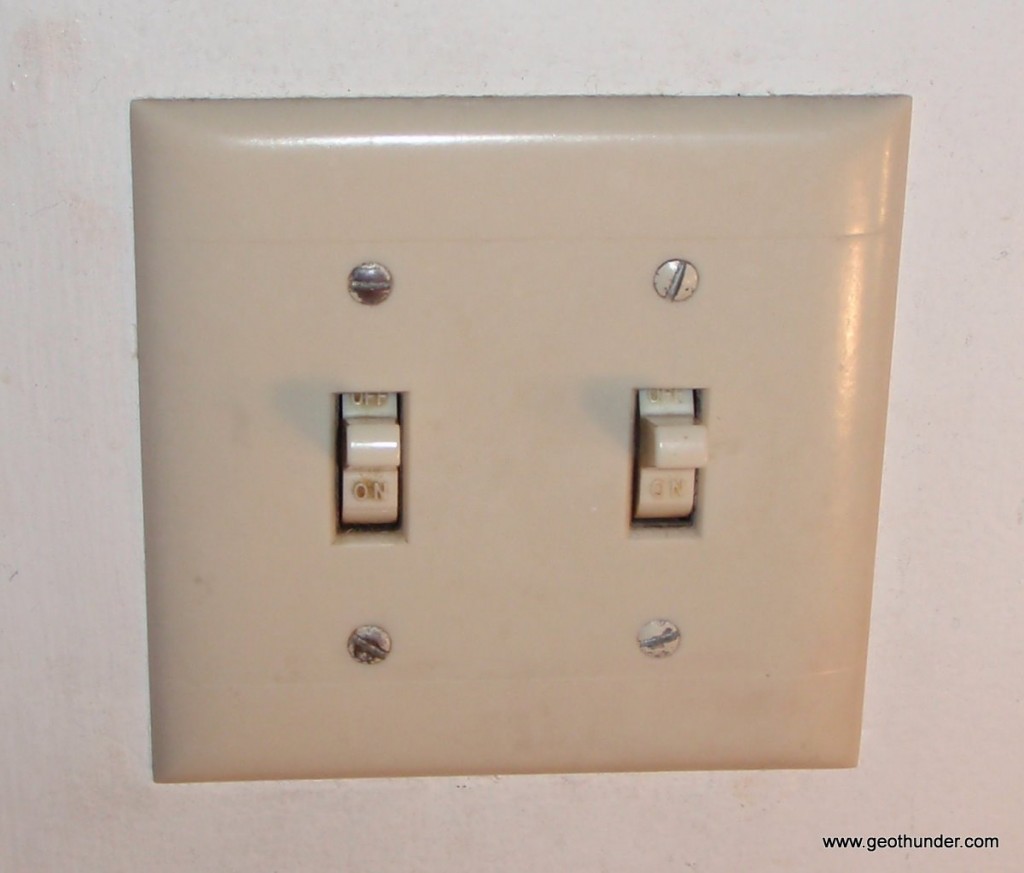
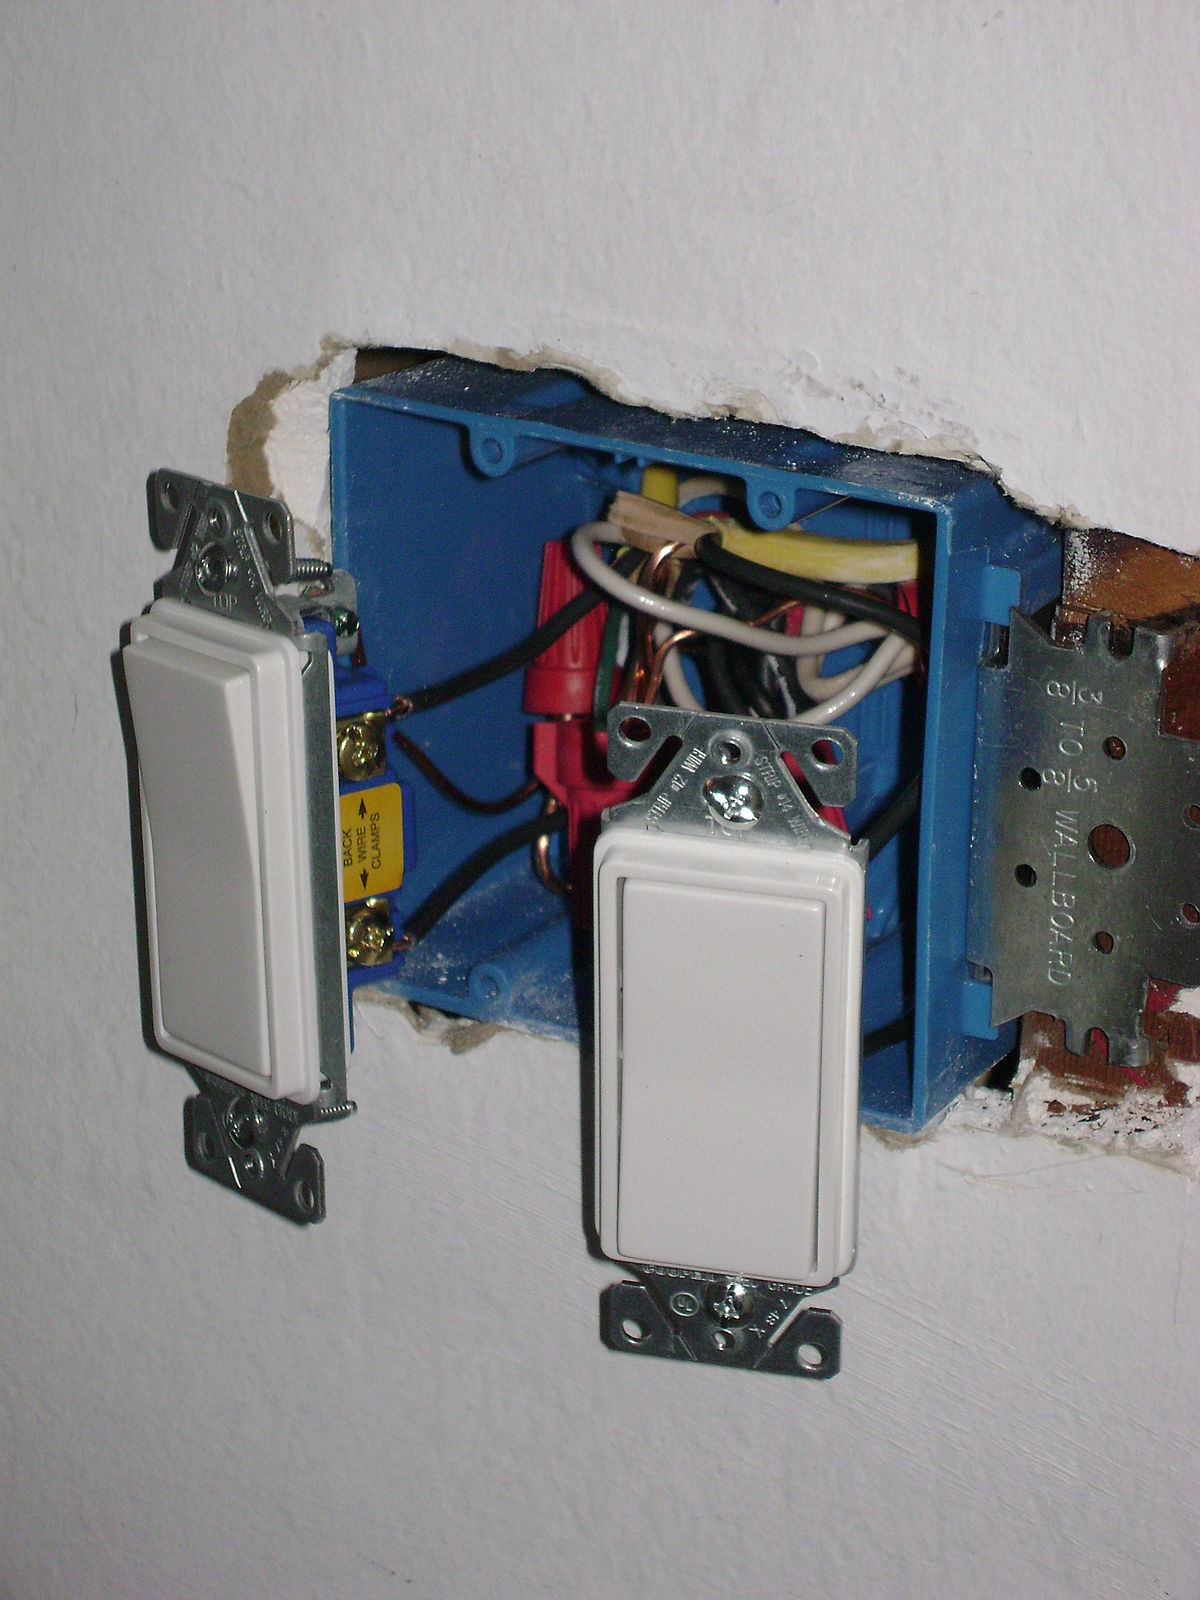
Unscrew the faulty wall switch connecting to the light. Use a flat tip screwdriver to disconnect the wires from the existing switch.
Step 3
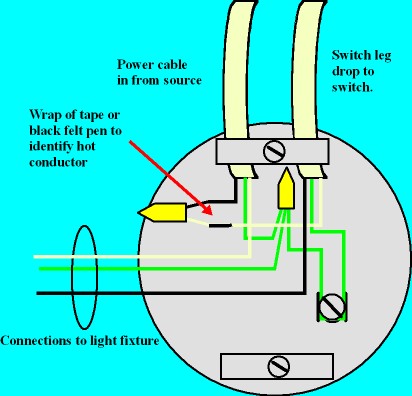
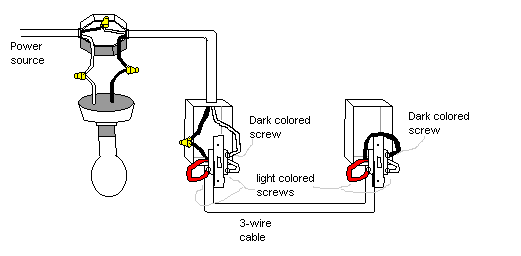
Unstrap the insulation on the wires to about a 1 cm using a blade clip. Take out your new wall switch and attach the wires in the box to its appropriate terminal on the wall switch.
Ensure to ground the new wall switch. The screws attaching the terminal to the wire should be screwed properly.
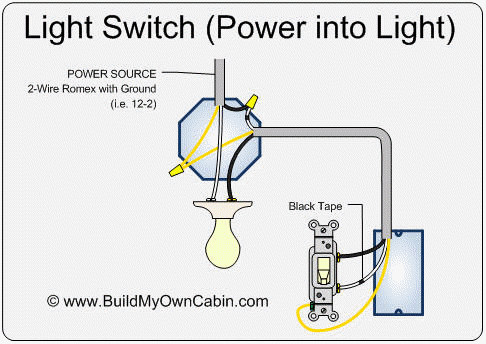
Step4
Mount the wall switch gently to fit into the wall box without undoing any of the connections. Ensure that the hole on either side of the switch coincides with that on the wall box. Screw the switch firmly.
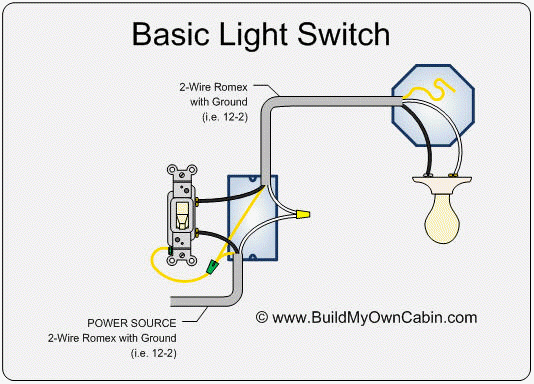
Step5
Locate your circuit box and turn on the circuit breaker specific to the wall switch. Switch on the light and verify that it is working properly.
These steps will guide you in case you are stranded and you have no clue on how to wire a wall switch to a light.
