10 key steps of replacing ceiling fan light socket
Is your ceiling fan light socket overused and not operating? If the answer is yes, then you need to replace your light socket ceiling fan with a new one. This will take less of your time whether you do the work yourself or hire an expert.
Here are the basic steps you need to follow in order to replace it.
Remove the ceiling fan
Having switched off the power, use a screwdriver to unfasten the fan from its support. Detach the wiring from light fixture to the fan. Unscrew the wires nuts and place the ceiling fan on the floor.
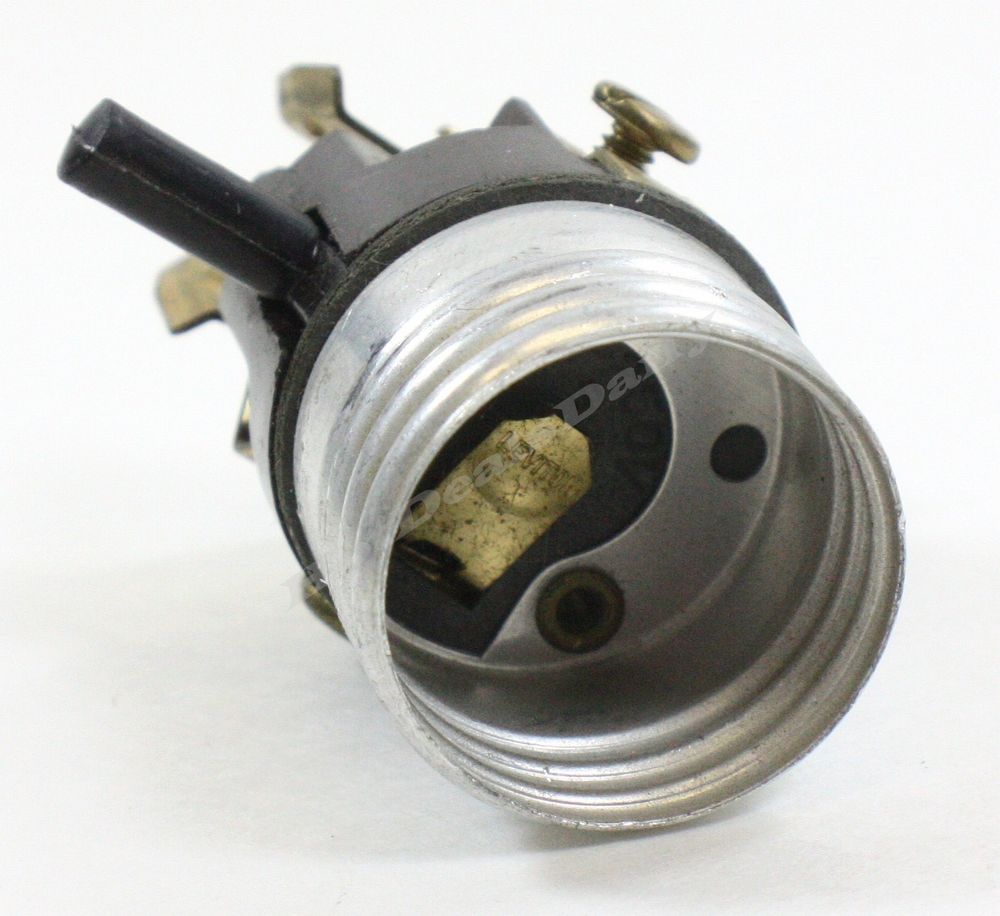
Remove the light socket and install a new one
Use your screwdriver to take out the ceiling fan light socket. Fix the new light socket into the position of the old one and later install the light bulb.
Reattach the ceiling fan to the ceiling
After installing the new ceiling fan light socket, fix the ceiling fan back to its position. Connect the wires in the same way you took them off and make sure you place the wire nuts back in their right position.
Tighten the fan to the ceiling, restore power to the circuit and turn on the lights. If it does not turn on make sure to check the wires and ensure they didn’t come loose.
Related


About The Author
Jeremy
May it be a light to you in dark places, when all other lights go out. ― J.R.R. Tolkien